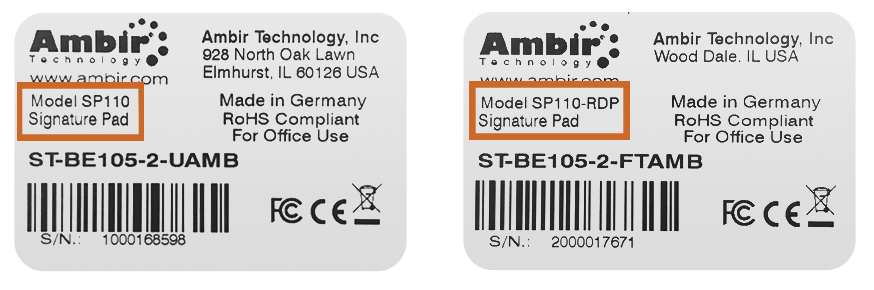
Shop all AMBIR Products in the New Online Store - Quickly Find Products and Add-Ons Shop Now
Contact Sales 1-630-530-5400 Ext. 2 My Account

Setting up your Signature Pad

For Ambir nSign model numbers SP100-RDP, SP110-TW, SP110-RDP, SP200-TW and SP200-RDP

Ambir eSignature Pads

Step 1.

Turn your pad over. If the back of your pad has -RDP listed, please download and install the link below. If it does not, move on to step 2.
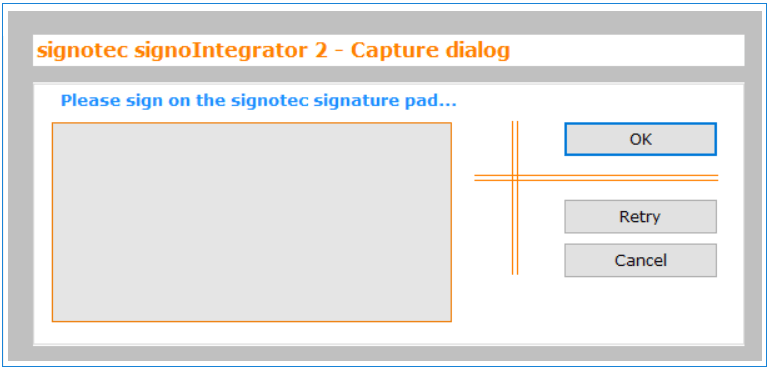
Step 2.

Plug the Signature Pad into a USB port on the PC.

Step 3.

Install the SignoPAD Tools. The signopPAD Tools installer contains 2 applications and a plug-in for Word or Excel. See details below:

Includes:

Signo Integrator 2

Allows you to sign and paste your signature into any application that can accept an image.

Signo Imager

A very simple application which creates signatures as image files, such as JPEG, PNG or TIFF.

MS Plugin

Plugin that allows you to sign into Word or Excel. It uses Signo Integrator as a base for capturing the signature.
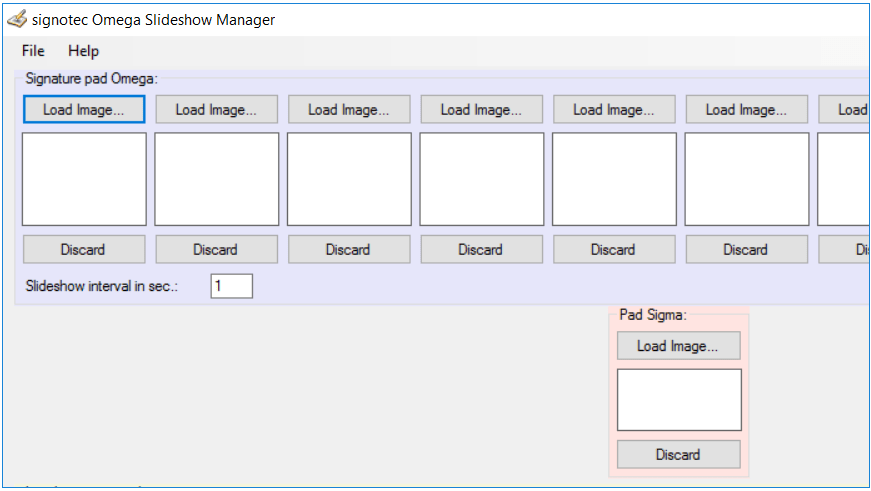
Step 4. (optional)

Install the signotech Omega Slideshow Manager software. This software allows you to add a rotating slideshow of images on the SP200. You can also change the default image on the SP110 (only one image is able to be loaded onto the SP110).

Online Video Guides


Using the Slideshow Manager

Used heavily in high-traffic areas like registration and checkout, signature pads are a great place to promote services in your clinic or products in your store. But it’s never been this easy. With the Ambir nSign SP200 and SlideShow Manager, you can add your own images and customize a slideshow in under a minute.

Signing into a Microsoft Word Document

Can you sign directly into a Word document? It’s not hard with the Ambir nSign series.