
Scanning In Citrix?
Look no further
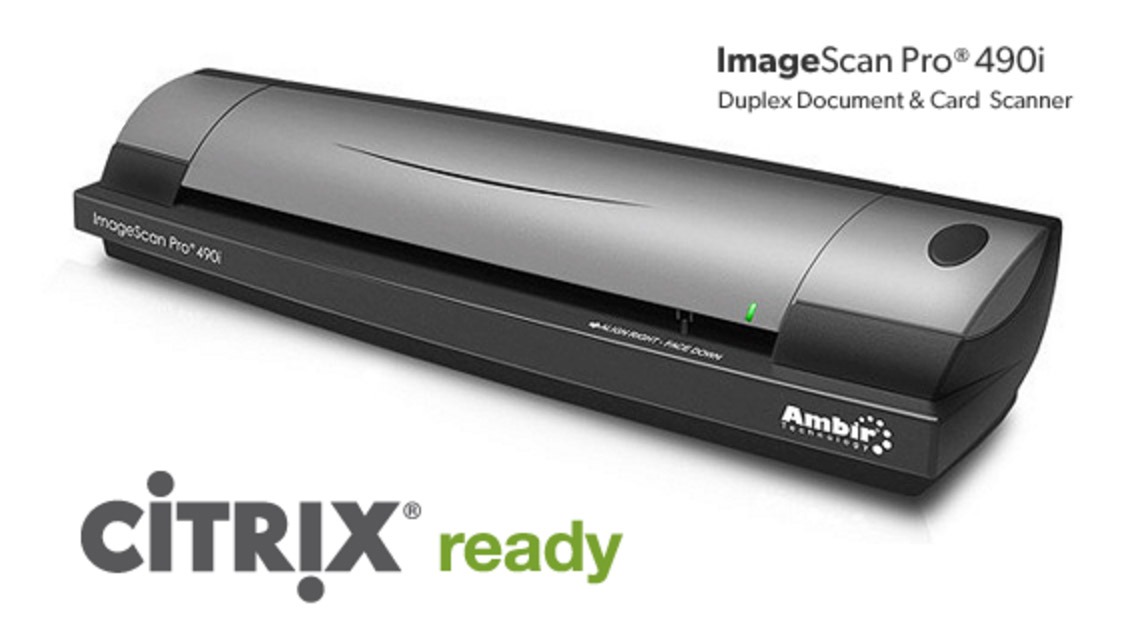
CONFIGURING AN AMBIR SCANNER IN CITRIX IS EASY AND HASSEL-FREE.
Just follow these steps:
1. Plug the scanner into an open USB port on the local client.
2. Confirm the scanner is recognized and install the proper drivers when prompted.
3. Download and install the TWAIN Twacker application from www.twain.org.
4. Launch the Twacker application locally. Click File > Source and verify the Ambir scanner is listed.
5. Load any document into the Ambir scanner. Within the Twacker application, click File > Acquire. Verify that the image is properly captured.
(The following steps should be taken to install your Citrix-ready Ambir scanner on any Windows XP or Windows 7 client.)
When you go with Ambir for your document capture needs, go with the confidence that your Ambir scanners will integrate seamlessly with your Citrix system. Quality digital imaging is crucial for today’s trends of mobility, virtualization, networking and cloud platforms.
Network-based scanning provides any organization with an easier way to capture documents, identification cards, and more quickly. A custom Ambir scanning solution will help to keep overhead costs at a minimum and will improve customer satisfaction or patient experience.
ENABLING TWAIN REDIRECTION
Citrix XenApp and the ICA protocol can redirect client-connected TWAIN imaging devices, including Ambir document scanners, from the client to the server, regardless of connection type.
The following steps should be taken to enable TWAIN redirection.
1. Launch the XenApp Delivery Services Console.
2. Click Policies > User Policies > Edit > Navigate to TWAIN devices – Client TWAIN device redirection.
3. Click Add, then Allow.